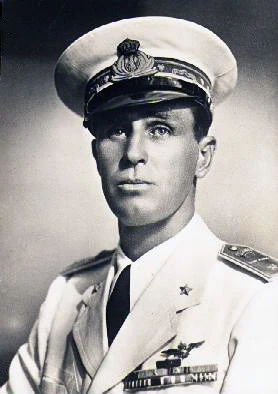
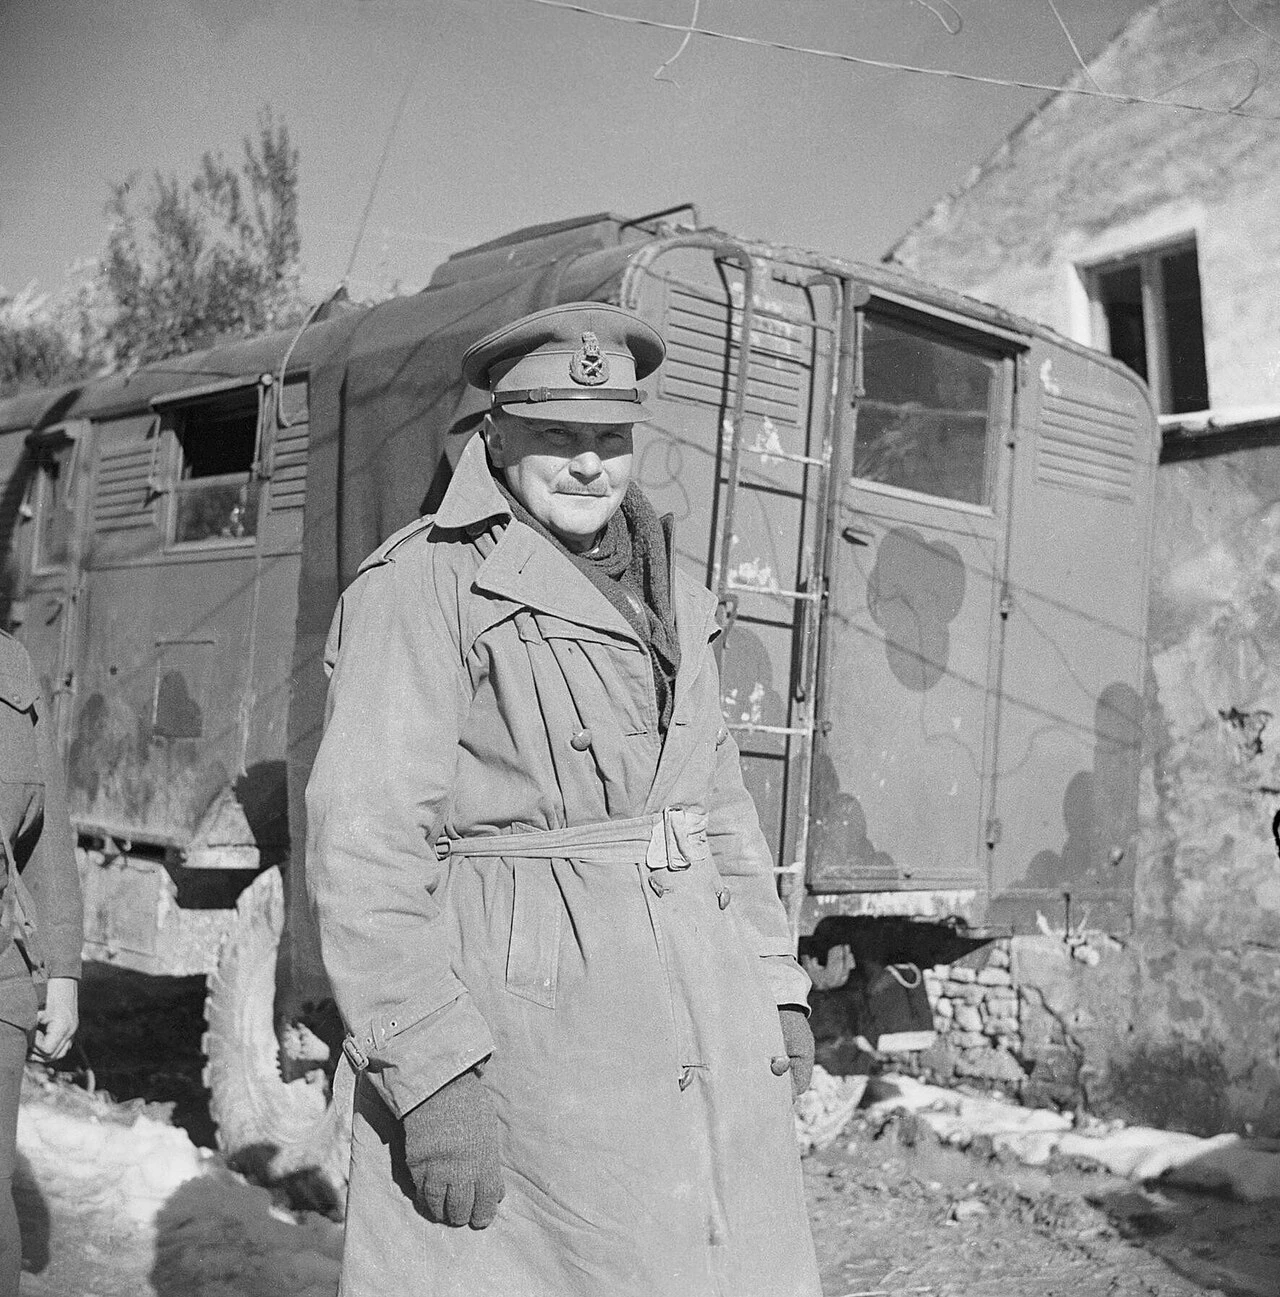
Morshead — Tobruk encircled, 10 April
Rommel's offensive had swept across Cyrenaica, but the port of Tobruk, taken by the Australians in January, remained in Allied hands at the heart of the territory reconquered by the Axis. Its garrison — the and British units, under Major-General — now found itself encircled. Yet Tobruk was vital: the only major port between Benghazi and Egypt, it denied Rommel a forward base and threatened his supply lines should he push toward the Suez Canal.
Wavell had ordered the place to be held. Morshead had the use of improved Italian defences — a double ring of strongpoints, ditches, minefields — and the support of the Royal Navy, which could resupply the port by sea under the bombs. But his men were exhausted by the retreat, water was scarce, and Rommel, intoxicated by his advance, wanted to take Tobruk in a single blow to open his road.
Morshead had to set the doctrine of the defence: hold a fixed and passive line awaiting relief; conduct an aggressive defence, multiplying patrols and counterattacks to wear the attacker down and deny him any initiative; or prepare for a possible evacuation by sea if pressure became unbearable.
How should Morshead defend encircled Tobruk?
Morshead imposed B, summed up in his now-famous formula: 'there'll be no surrender and no retreat.' His Australians — soon nicknamed the 'Rats of Tobruk' by German propaganda, a sobriquet they proudly adopted — repelled Rommel's armoured assaults of 11-14 April, then multiplied night raids that denied the any peace. Tobruk would hold for 241 days, supplied by the Royal Navy at the cost of heavy losses, until its relief in December 1941. The siege tied down part of Rommel's forces, deprived him of the port he needed and slowed his thrust toward Egypt. Tobruk became a major symbol of Allied resistance and Australian tenacity.
Learn more about this event
Related polls
10
Amba Alagi — the Duke of Aosta encircled
'Fortresses do not surrender'
The ANZACs at Thermopylae
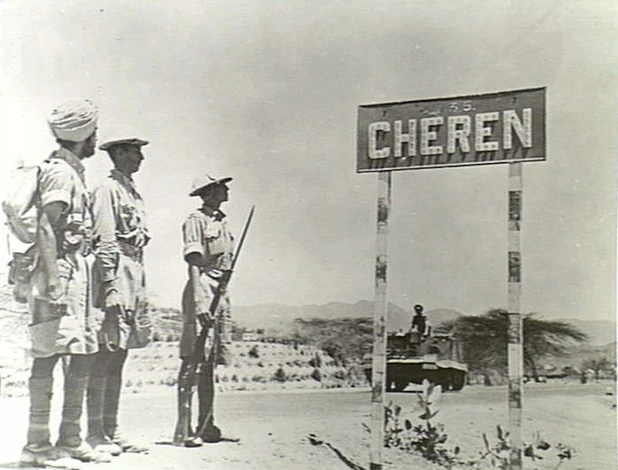
The Battle of Keren — Eritrea
Freyberg at Maleme
O'Connor — lost in the night near Mechili
Wavell in the face of Rommel's storm
Barbarossa — 3:15 a.m.
Brest — the Encircled Fortress

Davakis in the Pindus
Amba Alagi — the Duke of Aosta encircled
'Fortresses do not surrender'
The ANZACs at Thermopylae
The Battle of Keren — Eritrea
Freyberg at Maleme
O'Connor — lost in the night near Mechili
Wavell in the face of Rommel's storm
Barbarossa — 3:15 a.m.
Brest — the Encircled Fortress