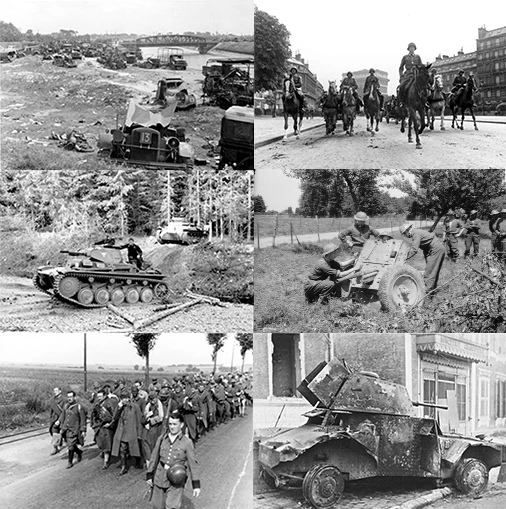
Where to stop the enemy — the KW line
From the very outbreak of the invasion, the Allied plan (the "Dyle Plan" or the Dyle-Breda manoeuvre) was set in motion: the best French armies and the British Expeditionary Force advanced into Belgium to hold a defensive line forward of the French frontier. The Belgian fallback position was the KW line (Koningshooikt-Wavre), barring the central gap.
The choice of the line of resistance committed the entire deployment. The further one advanced eastward (towards the Albert Canal and the Meuse), the more Belgian territory one covered, but the more one was exposed, far from one's bases. The further one fell back westward, the more one shortened the front, but the more ground one abandoned.
The command had to fix the main effort. It could hold the KW-Dyle line as the main position, rushing the bulk of the forces there. It could advance further towards the Albert Canal to defend further east. Or it could remain back on the Scheldt, closer to France, sacrificing the heart of Belgium. The whole point was that this forward movement into Belgium was exactly what the Manstein Plan sought to provoke — in order to strike elsewhere, in the Ardennes.
Should the Allied command hold the KW-Dyle line, advance towards the Albert Canal, or remain back on the Scheldt?
The Allied command executed A: in accordance with Gamelin's Dyle Plan, the best Franco-British armies hurried onto the KW-Dyle line, while the pushed even into Holland (the Breda variant). This was precisely the trap of the Manstein Plan: while the Allied elite engaged in the north, the mass of German armour broke through, far to the south, in the lightly defended Ardennes. The advance into Belgium, militarily logical in light of the known plans, placed the best Allied forces in a snare. The "Dyle Plan" would become the illustration of how the enemy turned the Allies' own strategy against them.
Learn more about this event
Related polls
10
The collapse of the 9th Army
Hold the Albert Canal or withdraw

The Capitulation of 28 May
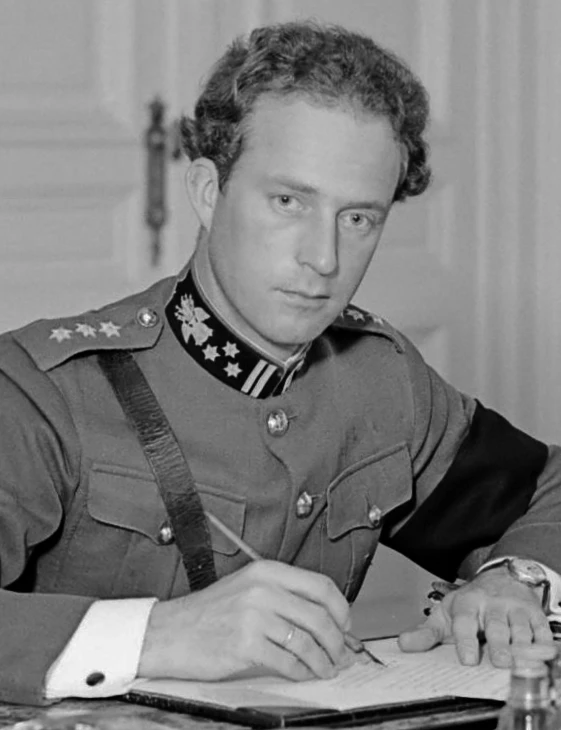
Leopold III takes command

Commanding a battle without radio
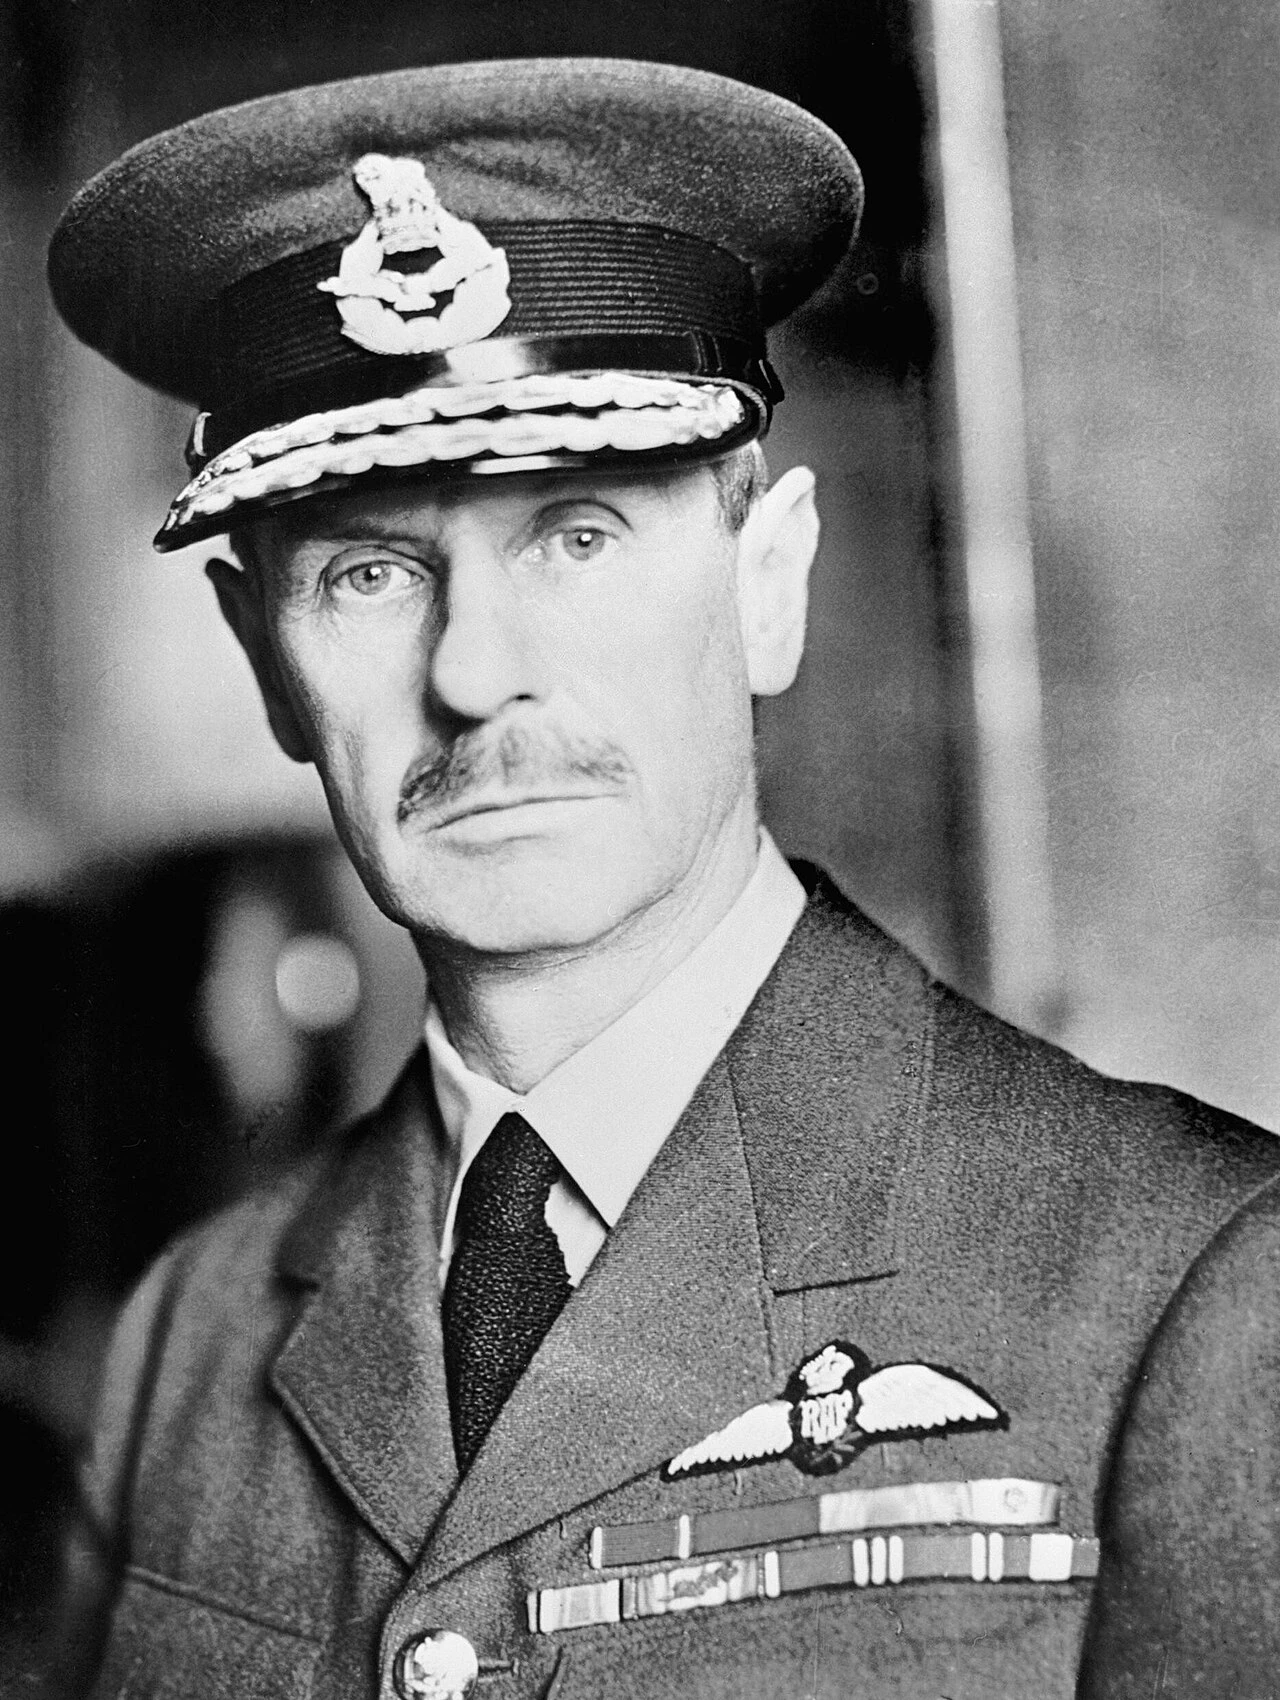
Dowding and the fighters
Gamelin, one last order before the envelope
Gort at Habarcq — trust in the French plan
Narvik — too senior an admiral

The RAF Bombs Germany
The collapse of the 9th Army
Hold the Albert Canal or withdraw
The Capitulation of 28 May
Leopold III takes command
Commanding a battle without radio
Dowding and the fighters
Gamelin, one last order before the envelope
Gort at Habarcq — trust in the French plan
Narvik — too senior an admiral