The fortified position of Namur
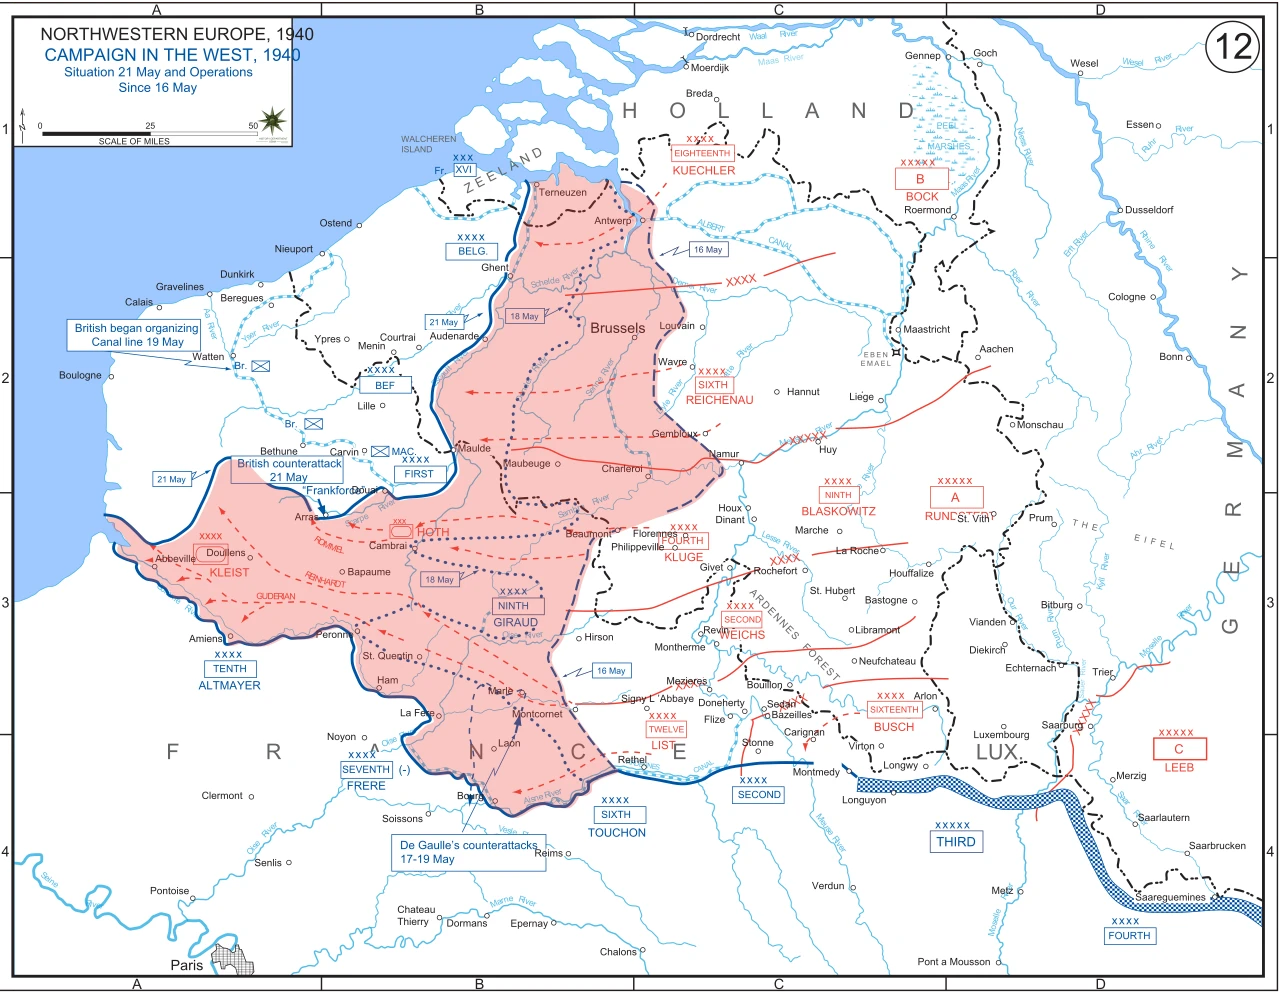
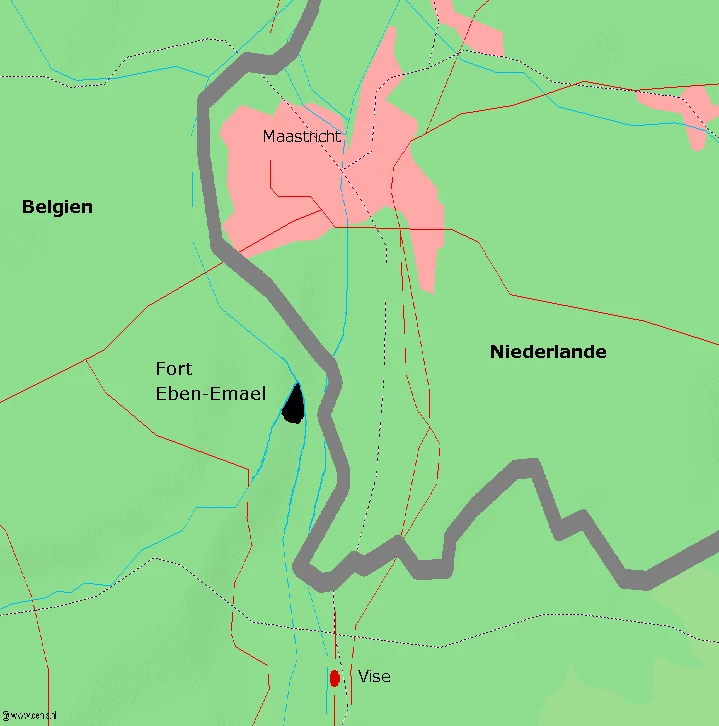
Like Liège, Namur is protected by a belt of modernised forts, at the hinge of the Meuse and the Gembloux gap. In the Allied dispositions, the Namur position links the French armies on the Dyle to the north with the Meuse sector to the south — precisely where the German breakthrough is about to be felt.
The command must decide how to use the position. Hold Namur and its forts firmly to secure the hinge of the Allied front and delay the enemy. Conduct a flexible defence, withdrawing so as not to be encircled as in 1914. Or evacuate the region quickly to preserve the mobile troops.
The command can hold the Namur position as the lock of the Allied hinge, withdraw to avoid encirclement as the front gives way to the south, or abandon the forts from the outset to concentrate the effort elsewhere. The collapse of the French on the Meuse, just to the south, leaves the position increasingly exposed and threatens to turn the whole disposition.
Should the command hold the Namur position, withdraw to avoid encirclement, or abandon it from the outset?
The command leans towards B for the field troops, while leaving the Namur forts to resist: after the withdrawal of the Allied armies forced by the collapse on the Meuse to the south, the isolated forts of the Namur position hold out for a few days before falling around 18–23 May 1940. As at Liège, the field defence gives way to avoid encirclement, leaving the works to a solitary fight. The rapid fall of the Namur hinge, a consequence of the rupture that occurred further south, contributes to the disintegration of the Allied front in Belgium. Namur illustrates once again the impotence of fixed fortifications in the face of a mobile breakthrough decided elsewhere.
Learn more about this event
Related polls
10
The abatis of the Chasseurs Ardennais
The Battle of the Lys
The bridges of the Meuse
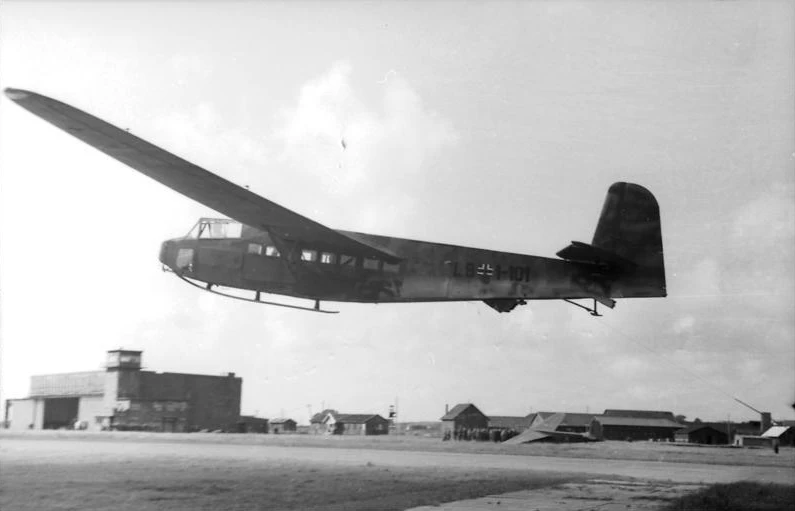
Eben-Emael — Jottrand under the explosions

The Chasseurs Ardennais facing the breakthrough

Kanne bridge — fourth airborne target
Veldwezelt bridge — Beert and the demolition officer
Vroenhoven bridge — the demolition order
The bridges of the Albert Canal
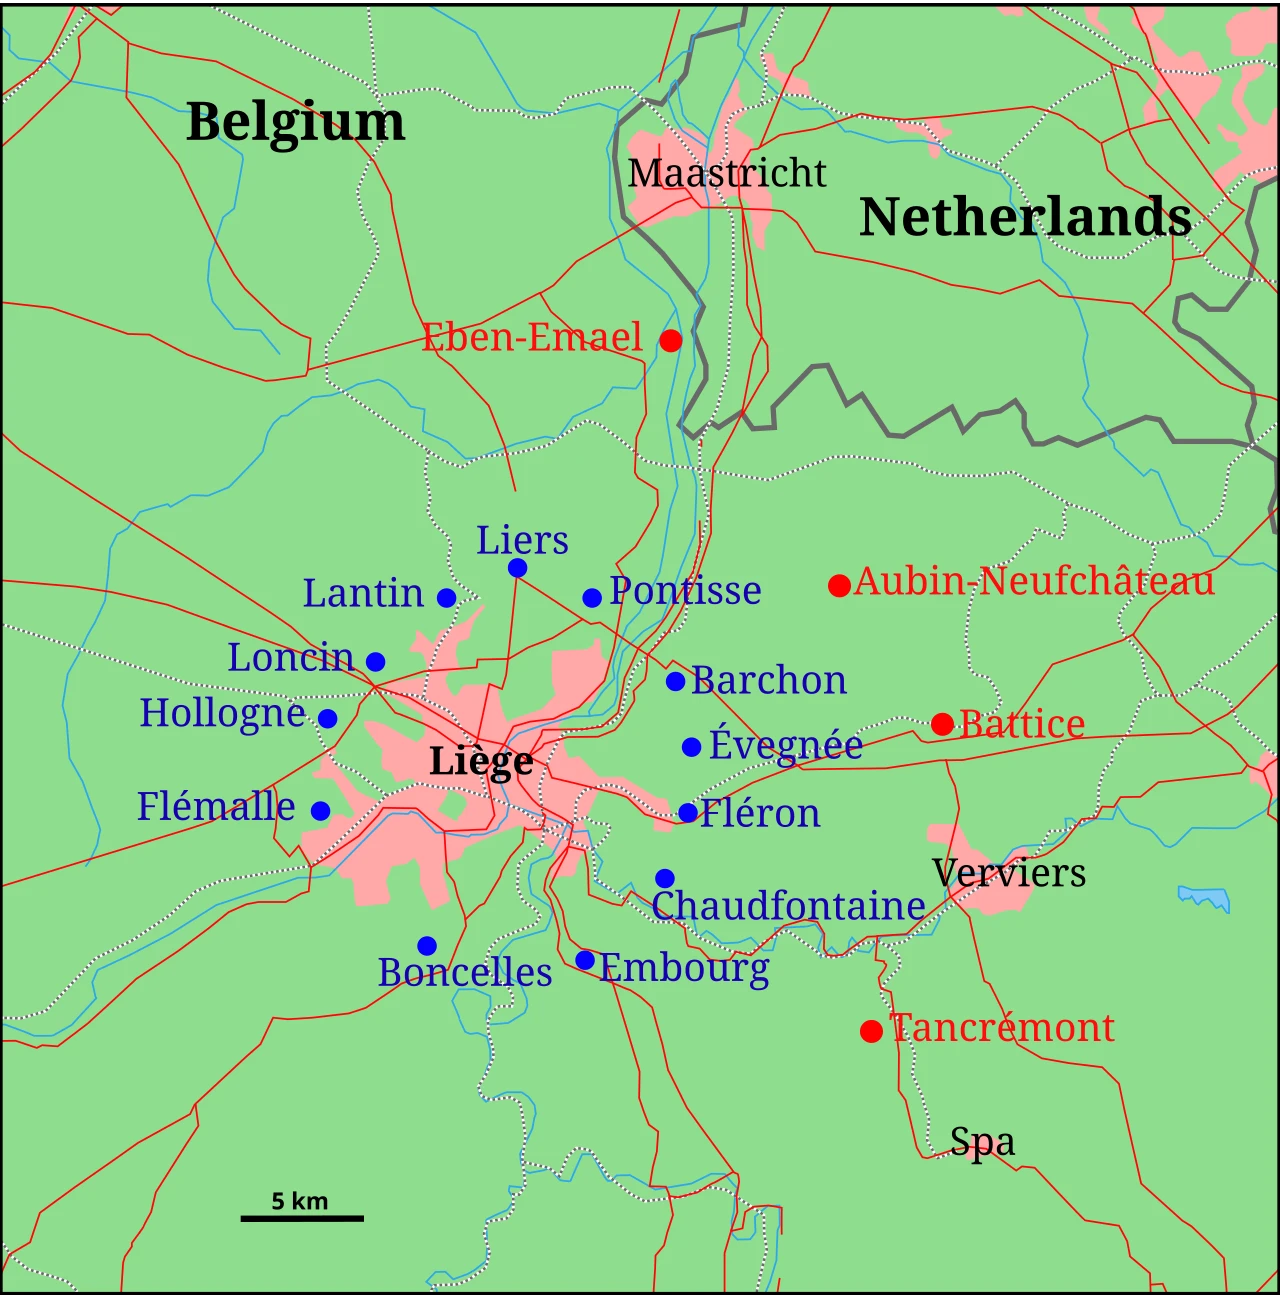
The fortified position of Liège
The abatis of the Chasseurs Ardennais
The Battle of the Lys
The bridges of the Meuse
Eben-Emael — Jottrand under the explosions
The Chasseurs Ardennais facing the breakthrough
Kanne bridge — fourth airborne target
Veldwezelt bridge — Beert and the demolition officer
Vroenhoven bridge — the demolition order
The bridges of the Albert Canal