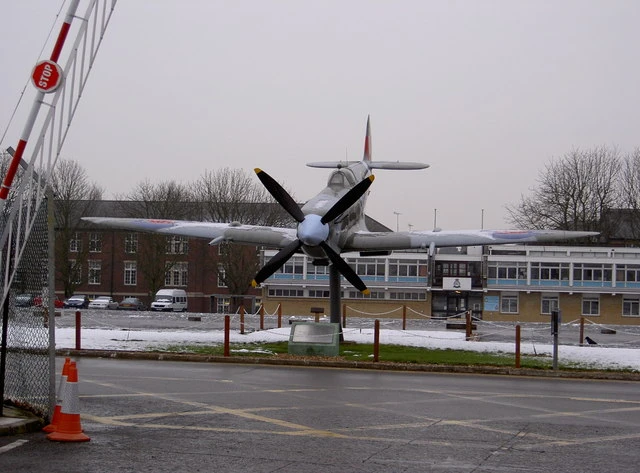
A Spitfire pilot's first combat
Our pilot is in his early twenties. Recently out of flight school, he sometimes has fewer than twenty hours on Spitfires before his first real engagement. In August 1940 Fighter Command is adding barely fifty pilots a week, and the young recruits join squadrons exhausted by weeks of combat over the Channel.
The tactical instruction is clear: when several squadrons are vectored onto an enemy formation, the faster Spitfires take on the escorting Me 109 fighters while the Hurricanes attack the bombers. The absolute priority is to break up the bombers before the '109 umbrella' falls on the attackers.
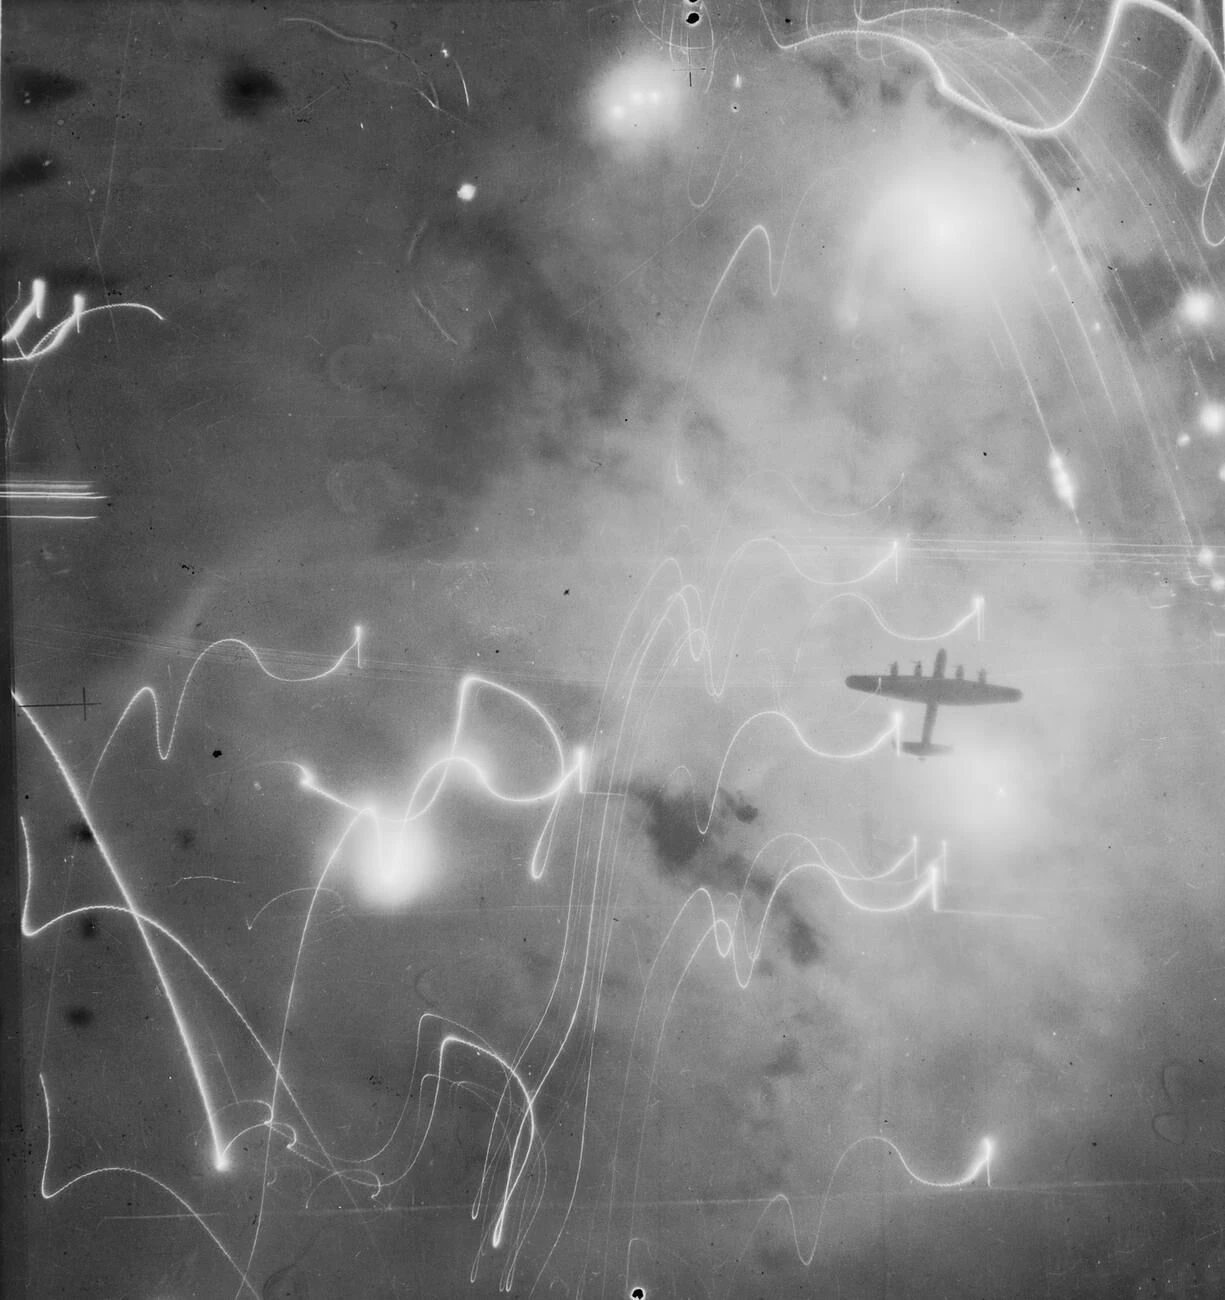
Here is his first interception. He dives toward a mass of German bombers. Within seconds the sky fills with aircraft diving and turning. The temptation is to fix on his target and press the trigger at all costs — but with eyes locked on the prey, one no longer sees one's tail. Suddenly tracer cracks around the canopy. Press on, break to survive, or freeze a second too long?
Do you press on regardless to break up the bomber formation, or break away to survive the moment tracer hits the cockpit?
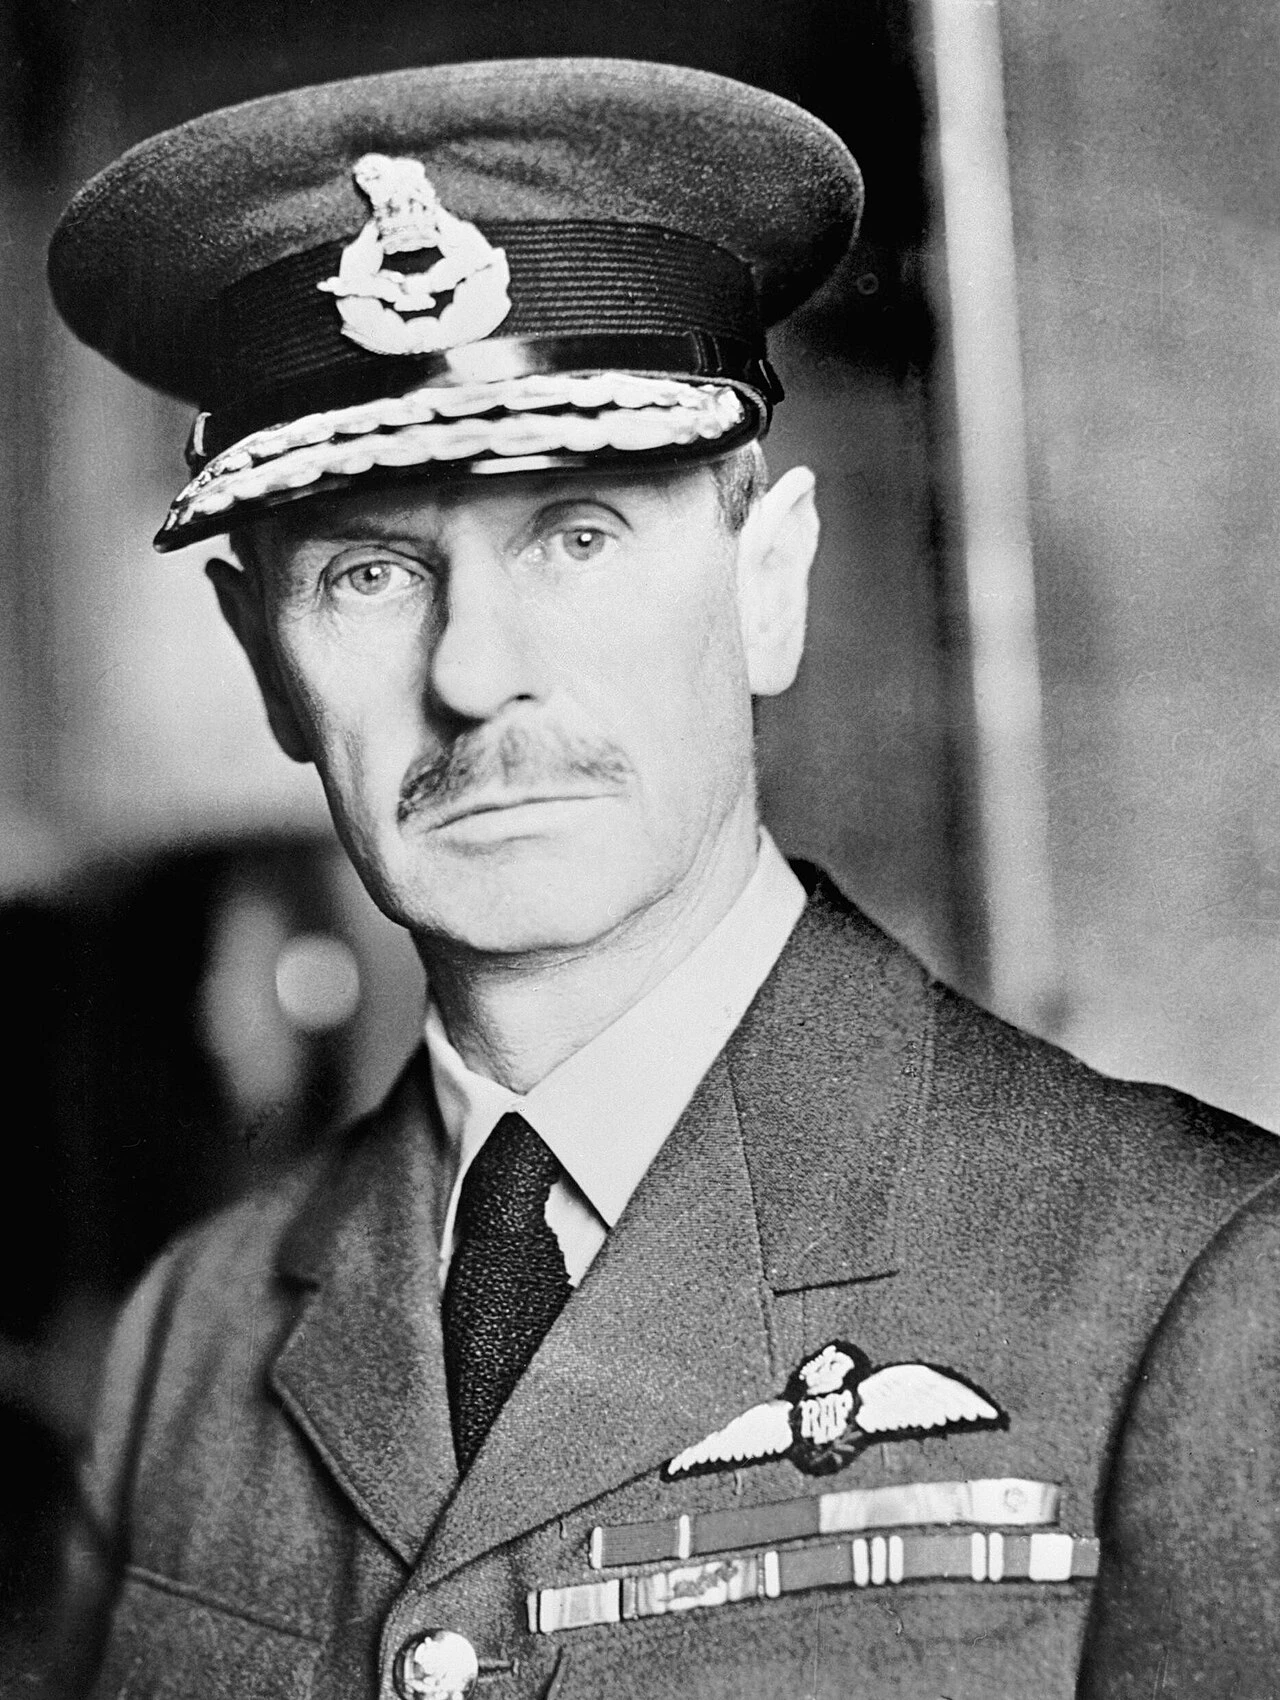
The pilots who survive apply A: break fast. Veterans hammered the point home — the man who, under fire for the first time, froze (C) was 'finished'. And target fixation (B) gave an enemy fighter the chance to slip onto his tail unseen. The Battle of Britain statistics are merciless for the novice: a high share of British fighter losses falls on pilots flying their first few sorties, shot down before they had learned to watch their tail. After being hit, the immediate danger becomes fire: burning oil sheets the windscreen and the heat can jam the canopy; the pilot must then open the hood, release his harness, roll the aircraft inverted to drop free, and pull the ripcord. The squadron rotation imposed by Dowding was meant precisely to give these men the rest periods that the Luftwaffe denied its own crews.
Learn more about this event
Related polls
10
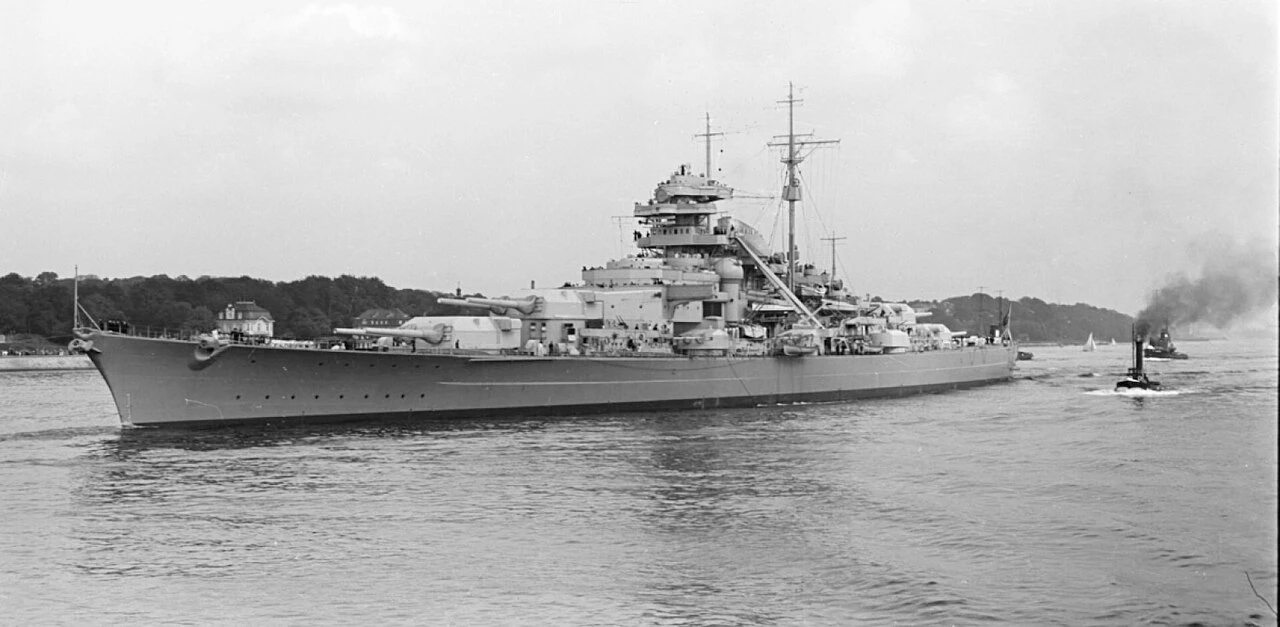
Tovey — the Bismarck running for France
The Polish Pilots of 303 Squadron
The bridges of Maastricht — the sacrifice of the Battles
The Uxbridge plotter
Bombing London — and the reply on Berlin
Dowding and the Last Reserves — 15 September 1940

Dowding — Keep the Fighters?
Keith Park at Uxbridge — September 15
The Ports Gorged with Invasion Barges
The first jump: a raid with no safety net for the return
Tovey — the Bismarck running for France
The Polish Pilots of 303 Squadron
The bridges of Maastricht — the sacrifice of the Battles
The Uxbridge plotter
Bombing London — and the reply on Berlin
Dowding and the Last Reserves — 15 September 1940
Dowding — Keep the Fighters?
Keith Park at Uxbridge — September 15
The Ports Gorged with Invasion Barges